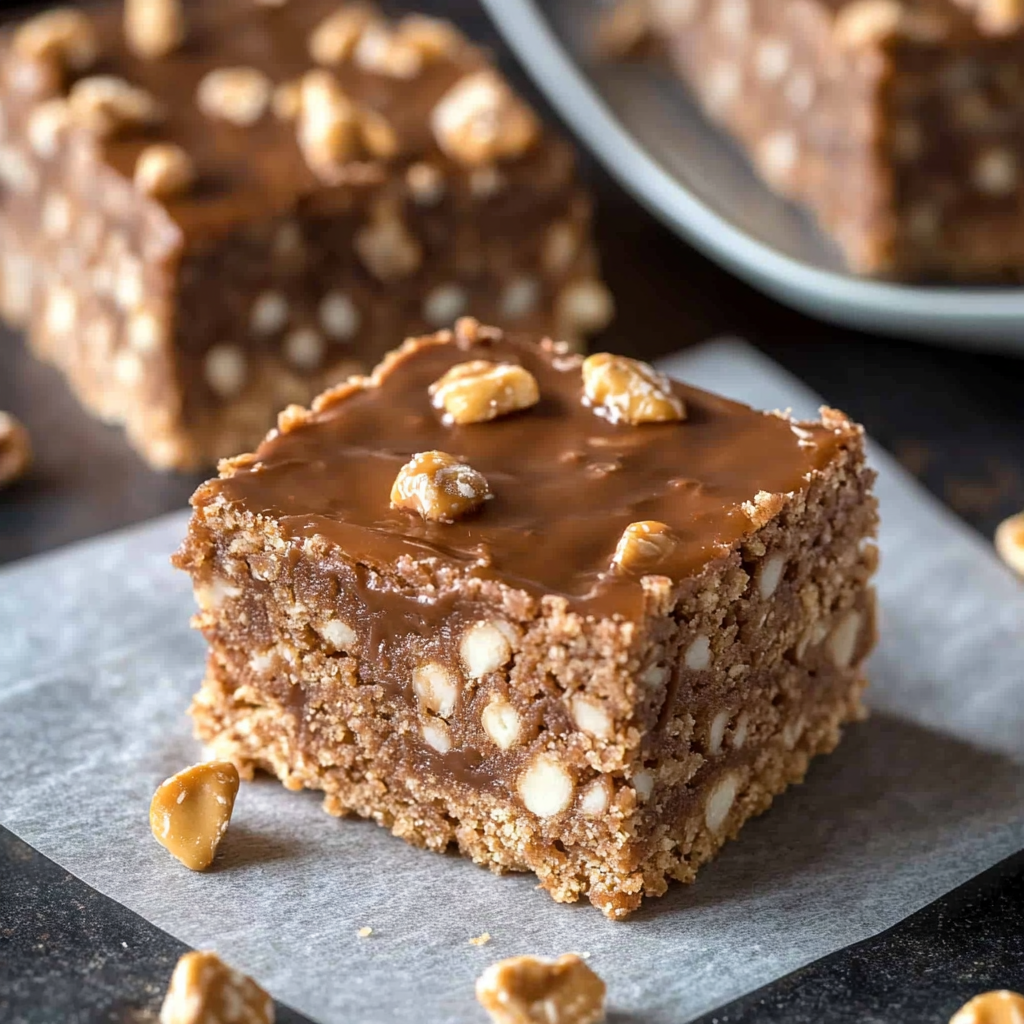
There’s something absolutely magical about homemade crunch bars. Picture this: a delectable blend of crispy rice cereal, rich chocolate, and a sweet touch of peanut butter, all coming together to create a treat that sends your taste buds into overdrive. summer berry icebox cake The moment you bite into one, the satisfying crunch gives way to creamy layers, and trust me, you’ll be left reaching for more.

Jump to:
- <strong>Essential Ingredients</strong>
- <strong>Let’s Make it Together</strong>
- <strong>Perfecting the Cooking Process</strong>
- <strong>Add Your Touch</strong>
- <strong>Storing & Reheating</strong>
- <strong>FAQ</strong>
- What is the best chocolate to use for Homemade Crunch Bars?
- Can I make these bars vegan?
- How do I prevent my bars from being too sticky?
- 📖 Recipe Card
I still remember the first time I made these delightful bars. It was a rainy afternoon, and I was on a mission to create a snack that would lift everyone’s spirits. My kitchen turned into a chaos zone of melted chocolate and sticky fingers, but the smiles on my family’s faces when they took that first bite made it all worth it. frozen yogurt bark for dessert Whether it’s for an afternoon pick-me-up or a special occasion, these homemade crunch bars are sure to become a beloved favorite in your household. For more inspiration, check out this Chewy Oreo Cookies recipe.
Why You'll Love This Recipe
- Homemade crunch bars are incredibly easy to prepare and require minimal ingredients
- Their rich chocolatey flavor combined with the crunchiness makes them irresistible
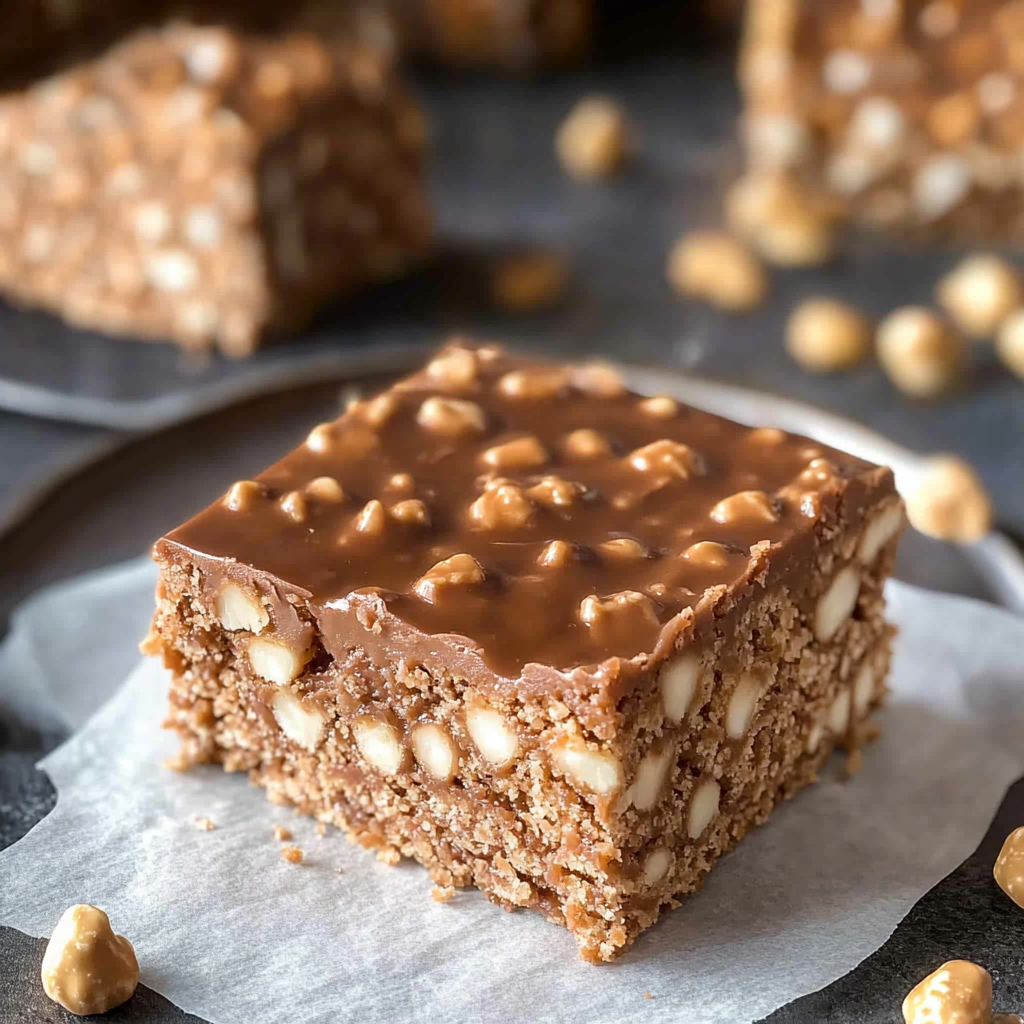
- They look gorgeous on any platter, adding visual appeal to your dessert table
- Plus, you can customize them with nuts or dried fruits for added versatility!
It was hilarious watching my kids try to grab these bars without getting chocolate all over their faces; needless to say, we had some sticky moments that day!
Essential Ingredients
Here’s what you’ll need to make this delicious dish:
- Crispy Rice Cereal: This is the star ingredient! Opt for a brand that promises maximum crunch.
- Chocolate Chips: Use semi-sweet or dark chocolate chips for rich flavor; they melt perfectly.
- Peanut Butter: Creamy or crunchy works here; just make sure it’s smooth enough to mix easily.
- Butter: Unsalted butter is best for better control over saltiness; it adds richness too!
- Marshmallows: Mini marshmallows work beautifully in this recipe; they melt evenly and add sweetness.
The full ingredients list, including measurements, is provided in the recipe card directly below.
Let’s Make it Together
Prepare Your Pan: Start by greasing an 8×8-inch baking dish with butter or non-stick spray. This will help your bars come out smoothly later.
Melt Chocolate Mixture: In a medium saucepan over low heat, combine the chocolate chips and peanut butter. Stir continuously until melted and smooth—this should take about 3-5 minutes.
Add Marshmallows: Once your mixture is silky, stir in the mini marshmallows. Continue stirring until they’re fully melted and combined into the chocolatey goodness.
Combine With Cereal: Remove from heat and gently fold in the crispy rice cereal. Use a spatula to ensure every piece is coated without crushing them too much.
Transfer Mixture to Pan: Pour the mixture into your prepared baking dish, pressing down firmly but gently with another spatula or wax paper to create an even layer.
Chill and Cut Bars: Let your creation cool at room temperature for about 30 minutes before slicing into squares. For quicker results, refrigerate them for 15 minutes.
Now you have delicious homemade crunch bars ready to impress friends and family! Enjoy every crunchy bite! lemon lavender cookies.
You Must Know
- Homemade Crunch Bars are a delightful combination of sweet and salty, perfect for snacking
- Their crunchy texture and rich flavor make them irresistible
- This recipe allows for customization, ensuring everyone finds their favorite version
- Plus, they’re easy to make with minimal ingredients!
Perfecting the Cooking Process
Start by melting the chocolate and peanut butter together. Then, mix in the crispy rice cereal until evenly coated. Pour the mixture into a pan and let it cool before slicing. This sequence ensures even distribution and the perfect crunch.
Add Your Touch
Feel free to swap out peanut butter for almond or cashew butter for a unique twist. You can also add mini marshmallows, nuts, or dried fruit to enhance flavors and textures. Get creative with drizzles of chocolate on top!
Storing & Reheating
Store your Homemade Crunch Bars in an airtight container at room temperature for up to a week. For longer storage, keep them in the fridge or freezer. savory Greek nachos Just let them sit at room temperature before enjoying.
Chef's Helpful Tips
- To ensure your Homemade Crunch Bars turn out perfectly, be mindful of chocolate melting temperatures; avoid overheating it
- Use fresh ingredients for maximum flavor and crunch
- Lastly, let them cool completely before cutting to prevent a sticky mess!
Sharing my first batch of Homemade Crunch Bars reminds me of that time I had friends over for movie night. Everyone devoured them before the opening credits rolled! Their laughter filled the room as they begged for seconds—definitely a crowd-pleaser. For more inspiration, check out this Butterfinger Bliss Cookies recipe.
FAQ
What is the best chocolate to use for Homemade Crunch Bars?
Use high-quality milk or dark chocolate for optimal flavor and texture.
Can I make these bars vegan?
Absolutely! Substitute dairy chocolate with vegan chocolate and use maple syrup instead of honey.
How do I prevent my bars from being too sticky?
Ensure thorough cooling before cutting; this helps maintain their shape and texture.
Did You Enjoy Making This Recipe? Please rate this recipe with ⭐⭐⭐⭐⭐ or leave a comment.
📖 Recipe Card
Print
Homemade Crunch Bars
- Total Time: 15 minutes
- Yield: Approximately 12 servings 1x
Description
Homemade Crunch Bars are a delightful blend of crispy rice cereal, rich chocolate, and creamy peanut butter, creating a treat that’s both satisfying and irresistible. These bars are not only easy to make but also allow for customization with various add-ins like nuts or dried fruits. Perfect for snacking or as a sweet treat for special occasions, they’ll quickly become a family favorite.
Ingredients
- 3 cups crispy rice cereal
- 1 cup semi-sweet chocolate chips
- 1/2 cup creamy peanut butter
- 1/4 cup unsalted butter
- 2 cups mini marshmallows
Instructions
- Grease an 8×8-inch baking dish with butter or non-stick spray.
- In a medium saucepan over low heat, melt the chocolate chips and peanut butter while stirring continuously for about 3-5 minutes until smooth.
- Stir in the mini marshmallows and continue mixing until melted.
- Remove from heat and gently fold in the crispy rice cereal until well combined.
- Pour the mixture into the greased pan, pressing down evenly with a spatula.
- Allow to cool at room temperature for 30 minutes, or refrigerate for 15 minutes before cutting into squares.
- Prep Time: 10 minutes
- Cook Time: 5 minutes
- Category: Dessert
- Method: Baking
- Cuisine: American
Nutrition
- Serving Size: 1 serving
- Calories: 150
- Sugar: 10g
- Sodium: 65mg
- Fat: 7g
- Saturated Fat: 3g
- Unsaturated Fat: 4g
- Trans Fat: 0g
- Carbohydrates: 20g
- Fiber: 1g
- Protein: 2g
- Cholesterol: 5mg